
 14-Jul-2026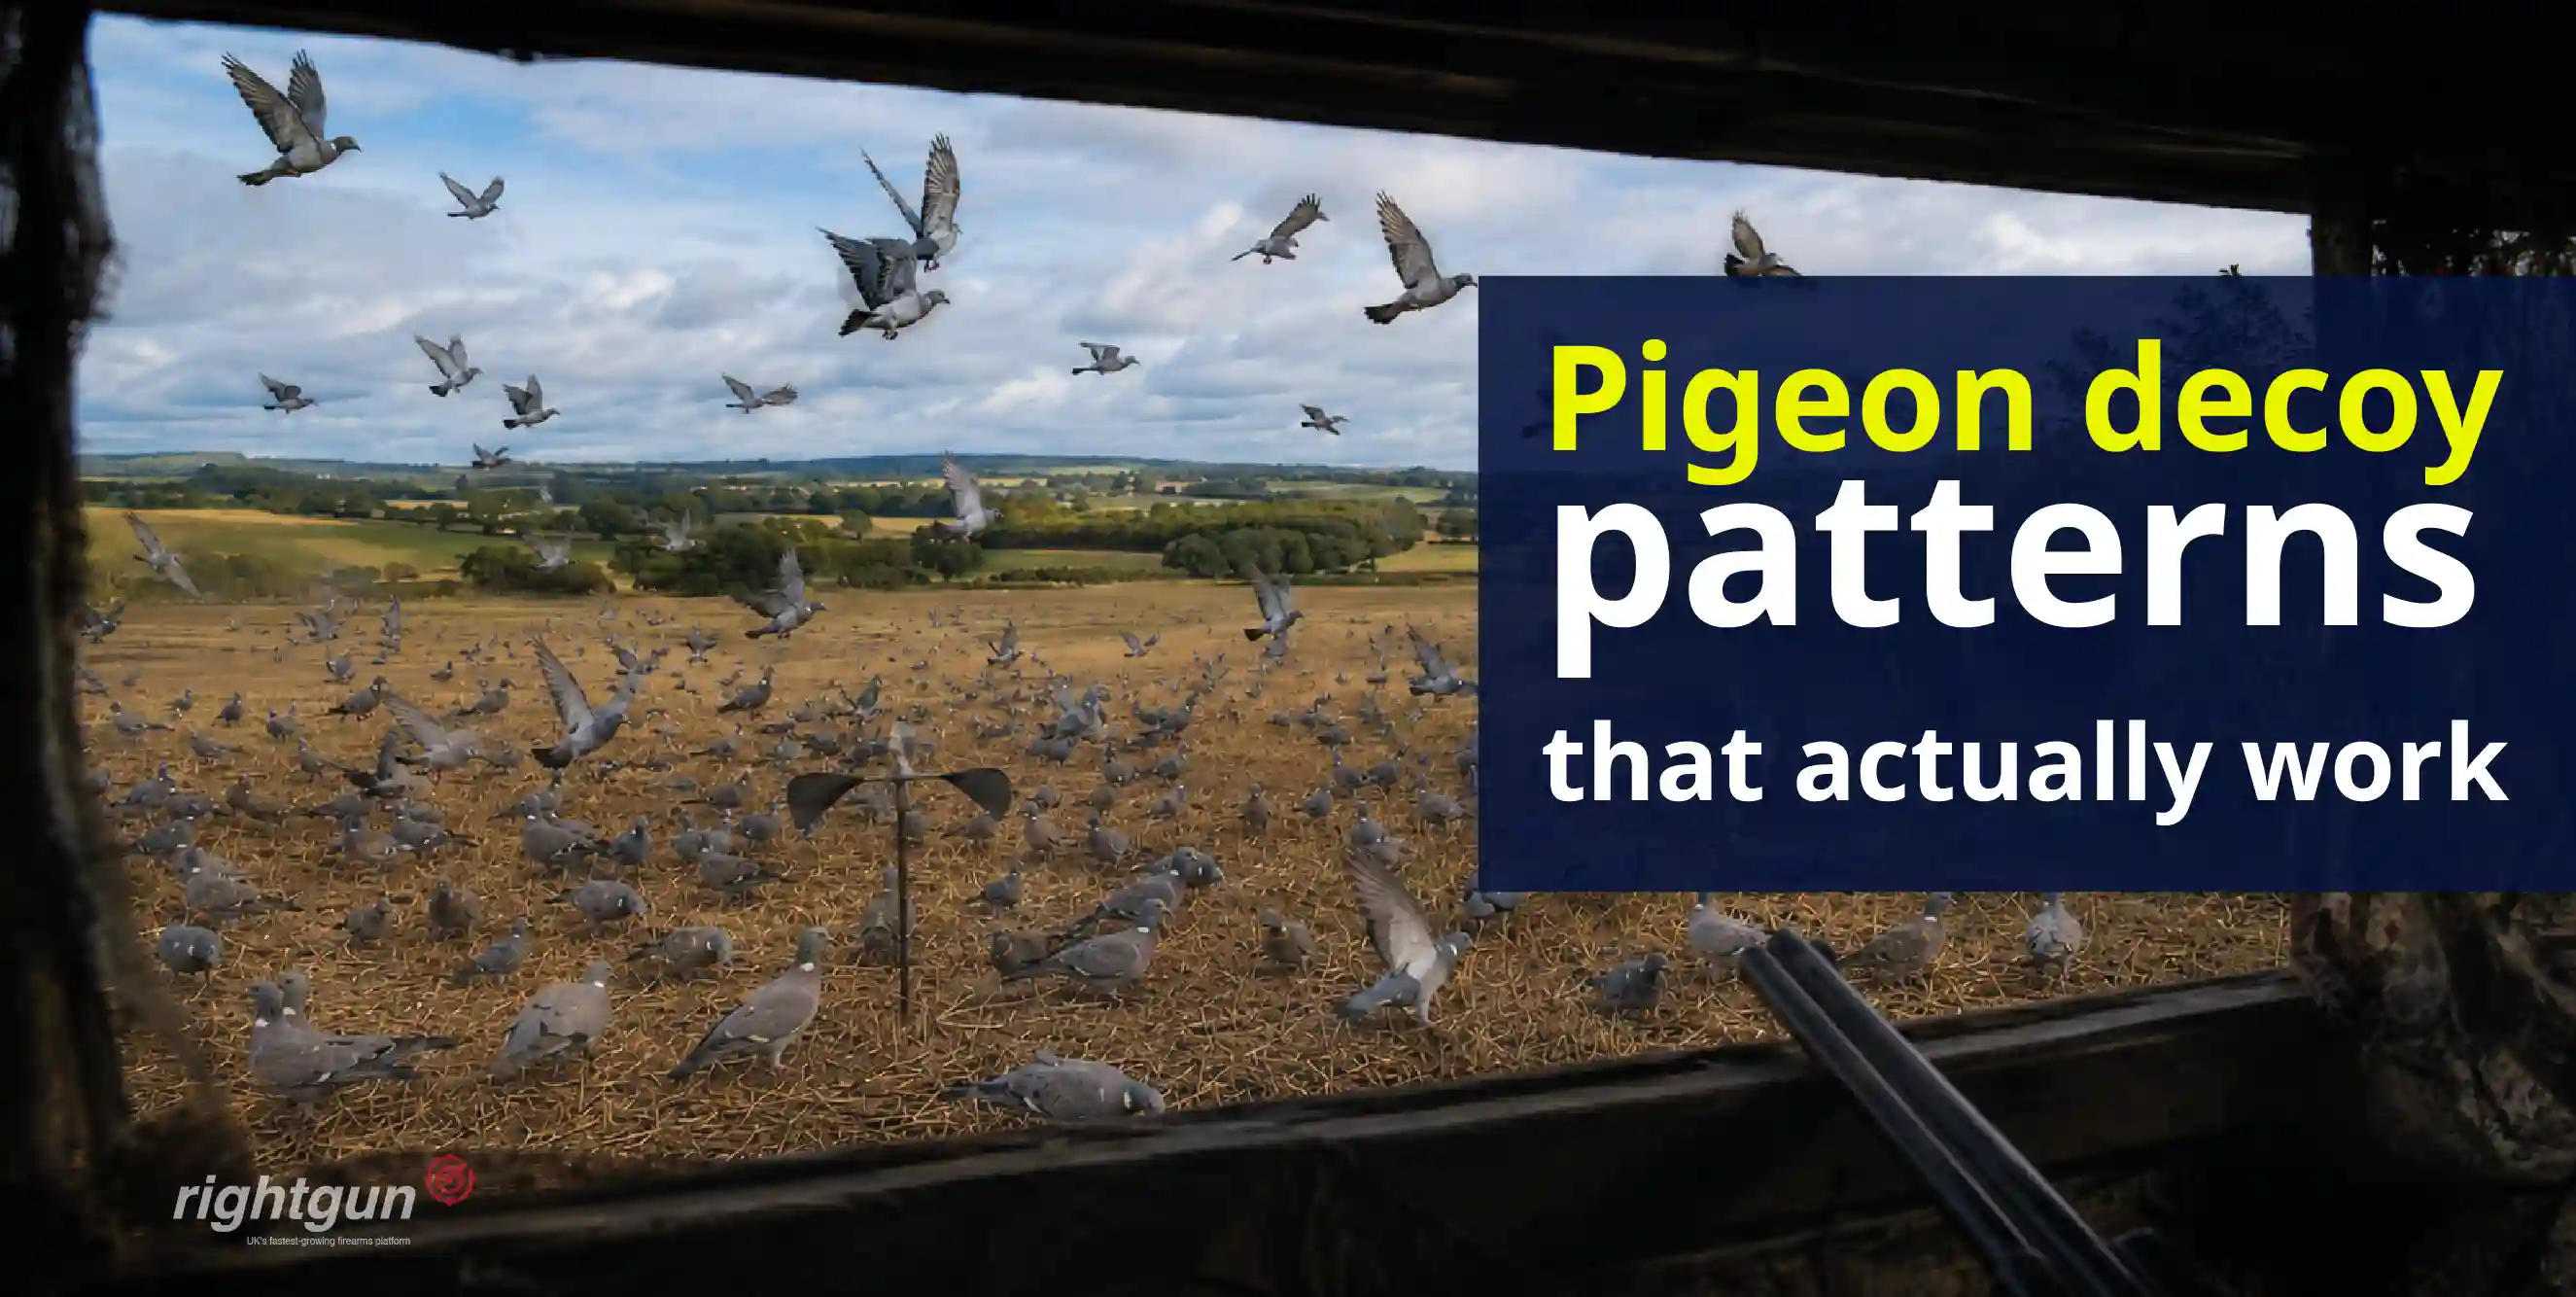
There is no shortage of advice on pigeon decoying, and most of it boils down to the same vague instruction: put some decoys out and see what happens. That approach might produce the odd shot, but it will not deliver consistent bags. The difference between a frustrating blank and a productive afternoon almost always comes down to pattern, positioning and preparation.
Getting your decoy layout right is the single most important factor once you have found birds feeding, and it is a skill that rewards careful thought far more than it rewards expensive kit. This guide covers the practical detail that actually matters: how to read the ground, which patterns to set and why, how to adjust for wind and changing flight lines, and what to do when birds start behaving differently as the day wears on.
Reconnaissance comes first
Before you even think about decoy patterns, you need to know where the birds are feeding and what they are eating. Crop reconnaissance is the foundation of everything that follows. A perfect decoy layout in the wrong field will produce nothing, while a rough setup in the right spot will still draw birds. Drive your permission in the days before you plan to shoot and look for feeding flocks, paying attention to which fields they are using, what time they arrive, and which direction they fly in from. Freshly drilled rape, laid barley, stubble with spilt grain, and harvested pea fields all pull pigeons at different times of year. Learn to read the crop calendar for your area and talk to the farmer, who will often welcome your help in reducing crop damage.
Once you have identified a productive field, visit it early on the morning you plan to shoot. Watch from a distance with binoculars and note where the birds are landing, not just where they are flying. The actual feeding spot might be two hundred yards from where birds first appear. Mark the landing zone, note the wind direction, and plan your hide position accordingly.
Understanding flight lines
Flight lines are the routes pigeons use to travel between roosting woods and feeding areas. They tend to follow landscape features such as hedgerows, tree lines, valleys and woodland edges. Once established, a flight line can remain consistent for days or even weeks, provided the food source does not change. Your job is to identify the dominant line and position your pattern so that incoming birds see your decoys as they approach.
Wind is the critical variable. Pigeons prefer to land into the wind, so your decoys should be arranged with the kill zone where birds will be as they slow down and drop in, heading into the breeze. If the wind shifts during the day, you may need to adjust your entire layout. A pattern that worked at eight in the morning can become useless by lunchtime if the wind swings ninety degrees.
Height matters too. If your field sits below a tree line or hill, birds will appear suddenly over the crest, giving you little time to react. In these situations, positioning your hide further back opens up a longer approach and more time to read each bird. On flat open ground you will see birds from a long way off, which allows a tighter setup closer to your hide.
The horseshoe pattern
The horseshoe is the most widely used pigeon decoy pattern in the UK, and for good reason. It works. The shape creates a natural-looking feeding group with an obvious gap for incoming birds to land in. That gap is your kill zone, and everything about the pattern is designed to funnel birds into it.
Set the horseshoe with the open end facing into the wind. The two arms of the horseshoe should extend forward from the kill zone, creating a welcoming channel. Incoming birds see the decoys on either side and instinctively aim for the open space between them, which is exactly where you want them. Position your hide behind and slightly to one side of the closed end of the horseshoe, so you are shooting birds as they approach the gap rather than directly overhead.
The depth of the horseshoe should be roughly fifteen to twenty yards from the closed end to the tips of the arms, with the arms themselves about fifteen yards apart at their widest point. This creates a kill zone that is close enough for consistently clean shots but large enough that birds do not feel crowded as they come in. Place your best, most realistic decoys at the front edges of the arms where incoming birds will see them first, and use your older or less convincing decoys further back.
The U-shape and variations
The U-shape is essentially a deeper version of the horseshoe with more vertical arms. It works particularly well when birds are coming from a single dominant direction because the longer sides create a stronger visual channel. Some shooters prefer to set one arm slightly longer than the other, which can help draw birds across the pattern at an angle that gives a better crossing shot rather than a pure incomer.
In windy conditions, you might flatten the U into more of a wide V-shape, with the point of the V facing downwind. This presents a broader front to incoming birds and accommodates the fact that they will be fighting the wind and may drift slightly off the direct approach line. The key principle remains the same regardless of the exact shape: create a clear, inviting gap where birds will naturally want to land, and position your hide so that gap falls within comfortable shooting range.
Decoy spacing and numbers
Spacing between individual decoys matters more than most people realise. Real pigeons feeding in a field are not packed shoulder to shoulder. They spread out, each bird maintaining a couple of feet of personal space from its neighbours. Your decoys should reflect this. As a general rule, space them roughly three to four feet apart within the main body of the pattern, and open the spacing up slightly towards the edges where the flock naturally thins out.
How many decoys you need depends on the situation. For a small field or a quiet line, a dozen well-placed decoys can be perfectly effective. On a large open field with heavy traffic, you might want thirty or more. Twenty to twenty-five is a good working number that covers most situations. You can always pick up shot birds and add them to the pattern as the day goes on, which gives you a growing, increasingly realistic spread.
The quality of your decoys matters as much as the quantity. Full-body decoys are the most realistic and sit naturally on the ground, but they are bulky to carry. Shell decoys are lighter and stack neatly, making them practical for longer walks. Flocked decoys have a matt finish that avoids the unnatural shine that can flare birds on sunny days, and they represent excellent value for the improvement they deliver. A mixed bag of full-bodies and flocked shells is a sensible compromise for most outings.
Flappers, bouncers and movement
Static decoys will draw birds, but adding movement to your pattern can make a dramatic difference. A flapper decoy simulates a bird landing, and that motion is one of the strongest visual signals you can offer incoming pigeons. A single flapper positioned at the front of the kill zone tells approaching birds that others are actively dropping in to feed, which is exactly the confidence signal they need to commit.
Bouncer decoys sit on a sprung cradle that rocks in the wind, mimicking the head-bobbing motion of a feeding bird. They are less dramatic than flappers but provide continuous subtle movement that keeps the pattern looking alive. In light winds, a couple of bouncers scattered through the pattern can be the difference between birds circling warily and birds pitching straight in.
Use movement decoys sparingly. One flapper and two or three bouncers is usually plenty. Too much mechanical movement looks unnatural and can push birds away rather than drawing them in. Position your flapper where it will be the first moving decoy that incoming birds see, and use a remote control if possible so you can trigger it as birds approach rather than leaving it running constantly.
Hide positioning
Your hide is just as important as your decoy pattern. The best layout in the world will not help if birds can see you sitting behind it. Position your hide in a hedgerow, tree line, or natural feature wherever possible, using the existing cover to break up your outline. If there is no natural cover, a purpose-built hide net stretched between poles will do the job, but face it with local vegetation so it blends into the surroundings.
The relationship between hide and decoys is critical. You want to be close enough for comfortable shots into the kill zone, which means the nearest point of your pattern should be roughly twenty to twenty-five yards from your shooting position. Much closer and you will struggle with the angle as birds drop in. Much further and you start reaching for shots that produce wounded birds rather than clean kills. Sit with the wind at your back or coming from one side, so incoming birds are flying towards you and giving you the cleanest possible view of approaching targets.
Adapting through the day
Pigeon behaviour changes throughout the day, and your pattern should change with it. Early morning usually sees the heaviest movement as birds leave roosting woods and head for feeding fields. The flight lines tend to be direct and predictable at this time, so set your pattern to intercept the main line and expect steady action for the first couple of hours.
By mid-morning, the initial rush often slows. Birds that have fed will drift back to rest, and those still coming will be more cautious, having potentially seen or heard shooting. This is the time to assess whether your pattern is working. If birds are consistently landing short of the kill zone, extend your forward decoys. If they are sliding off to one side, adjust the angle of the horseshoe to account for a wind shift.
Afternoon can bring a second wave of activity as birds return for an evening feed before going to roost. The flight lines may differ from the morning if the wind has changed or the birds are coming from a different roosting area. Be prepared to move your entire setup if necessary, it is better to spend twenty minutes repositioning than to sit stubbornly in a setup that has stopped working.
Common mistakes
The most common mistake is setting up in the wrong place. No decoy pattern will save you if the birds are feeding three fields away. Do your reconnaissance, confirm the feeding location on the day, and set up where the birds actually are rather than where you think they should be. Setting decoys too close together is almost as damaging; a tight cluster looks unnatural from the air and can make incoming birds nervous. Space them out, vary the angles so they are not all pointing the same direction, and make the spread look like a relaxed, feeding flock rather than a parade formation.
Ignoring the wind is another frequent error. Your pattern must account for the wind direction because it dictates the approach line of every incoming bird. Set up with the kill zone downwind and adjust as conditions change. A beautiful horseshoe pattern aligned the wrong way to the wind is just an ornament. Finally, giving up too early costs more birds than people realise. Pigeon shooting comes in waves, and a quiet spell of thirty minutes does not mean the day is over. Some of the best shooting can come in the last hour before dusk.
Putting it all together
Consistent success at pigeon decoying comes from doing the basic things well every time. Scout the fields, find the birds, read the wind, set a clean pattern with a defined kill zone, build a hide that disappears into the landscape, and be prepared to adapt when things change. The horseshoe is your bread and butter, but understanding the principles behind it means you can improvise to suit whatever the day throws at you. If you are looking to upgrade your decoying kit, Rightgun carries a wide selection of shotguns suited to pigeon shooting, from lightweight game guns to semi-autos that keep you in the action when birds come thick and fast.
Read next:
